Sometime in mid-2021 I was recommended to read The Great CEO Within by Matt Mochary. I absolutely loved it – no fluff, direct, to the point, actionable mini-chapters on a wide range of topics relevant to a business leader. After reading it, I couldn’t help but think that there was a gap in the market for a similar manual, a handbook, for technical leaders.
I don’t mean a book covering enterprise design patterns, or how to write clean Javascript. There are plenty of excellent resources on how to do the technology part of a tech leader’s role. I was craving a resource for the leader part of “tech leader.”
And so last year I sat down and started writing, soliciting topic areas from friends, peers, social media, that would be useful in a tech leaders handbook. 15 months later, and with many thanks to the wonderful people at my publisher WorldChangers Media, the book is finally here!
My goal is that the handbook is a useful tool that grows over time and improves organically, with community feedback and criticism. To that end, the book is NOT copyrighted, it is licensed as CC BY-NC-SA 4.0 – Which essentially means you’re free to make copies of the book, and even make changes, as long as you keep my name attached and don’t try and resell your work. As a result, I’m keeping a public link to the content up for free – https://github.com/ZachGoldberg/Startup-CTO-Handbook. I would very much appreciate and look forward to your pull requests/issues!
The continuous integration (CI) environment has become an essential component in modern software development workflows. I’ve seen CI most often used to run basic builds — ensuring code compiles, passes lint/security/code scanning rules, ensure unit tests pass. Adventurous teams even trigger end to end builds or visual regression tests. From my experience teams usually have custom build scripts specifically setup for CI, such as GitHub actions YAML scripts or separate make files. There’s certainly nothing wrong with that, however in this blog post I’ll endeavor to convince you to either replace that build system, or perhaps augment it, with a full developer-like build based on your README.
Motivation
If you’ve not yet read The Unicorn Project by Gene Kim I’ll give you the quick summary: high performing teams run builds constantly and can onboard a new developer from zero to testing code in a production like environment in minutes or hours, not days or weeks.
We use CI to verify our most important goals, that code is defect free and can be deployed with confidence to production. Why not also use CI to ensure we can deploy locally with confidence?
The Hot Take
Run a build in CI using the same steps as your developer README. If you’re README says
yarn
yarn start
then make sure you do that in CI. If your developer build says
docker compose up
then install docker in your CI environment and do that. If your README has multiple pages of convoluted steps required to check out multiple repositories and run multiple commands, then you’ve got some developer experience debt to simplify and automate that process so it can be automated simply.
But what about secrets and configuration?
A common objection/concern to running a build in CI has to do with all the dependencies required, with secrets and configuration being the most painful. Many teams have a “secrets” file that is passed down from developer to developer or some other bureaucratic process. A better path is to commit secret names or locations, not values, to your repository. You can then use runtime tools (e.g. Berglas or whisper) to authenticate with a secret store to pull the values. All that’s left then is to setup your CI environment with authentication (perhaps via Workload identity federation) so it can pull down a non-production version of the configuration it needs.
Benefits
Running a developer-like build in a CI environment is a valuable opportunity to validate the build process and ensure that all dependencies, configurations, and components are working correctly. This step guarantees that a developer can build and deploy the application without any hiccups, reducing their onboarding time and improving their initial productivity.
A developer-build executed in a CI environment helps the technical team identify any integration issues or broken code early on. Early detection means we can prevent breakages from being merged, and we’re much more likely to fix the breakage efficiently if it’s caught quickly, reducing build maintenance cost as well.
In this article I’ll walk you through how to set up your (octoprint-compatible) 3d printer such that you can start, stop and monitor your prints from anywhere.
But first, some quick backstory. My wife has recently picked up glass blowing, and she asked me for help making some molds. We had a go using some modelling clay and, well, let’s just say it was pretty clear a 3D printer would get us more accurate/usable results. On Cyber Monday the Anycubic Kobra Go printer went on sale for under $200 for a printer & full spool of filament combo and I couldn’t resist.
Fast forward a week and the printer is setup in the living room and I’m running back and fourth between my office and the printer with a micro SD card ten times a night. Not that I mind the exercise, but it all felt wildly inefficient.
Enter Octoprint, an open source print server and web interface that’s compatible with most consumer grade 3D printers. Octoprint is (generally) run on a Raspberry Pi and connected to a 3D printer with a USB cable. It also features first class support for Raspberry Pi or USB webcams for monitoring prints and recording time-lapse videos. Getting Octoprint running is straightforward and the instructions for getting started with OctoPi (a custom Raspberry Pi Image with Octoprint preinstalled) worked very well for me. If you go with OctoPi be sure to enter the “advanced” custom image menu and setup a SSH username and password, which we’ll use later.
So at this point you’ve got Octoprint running on your home network and you can control your 3D printer from anywhere in the house. Excellent. You then start a 3 hour print and fifteen minutes into the print your partner asks you to run to the grocery store for some eggs. But as the diligent 3D printers we are, we can’t let the printer go entirely unattended, what if there’s a layer shift? You’d have to stop the print to avoid wasting filament!
There are some very user friendly plugins that let you login to your Octoprint via the cloud. Generally they work well, some are free, some are paid, but they generally don’t have 100% feature parity, and of course, they rely on third party servers. Enter ZeroTier. ZeroTier is a networking tool that, in effect, lets you set up what feels like a VPN with extremely minimal effort. As they like to describe, it’s “click, click done.”
Step one is to setup a zerotier network. This is done by creating an account on zerotier.com. Once there, hit “Create a Network” which, with a single click, will create your virtual network and give you a network ID, something like “225ab4422bc54915fd.”
Step two is to setup zerotier on your mobile device, be it a laptop or phone, there are clients for Windows, OS X, Linux, Android and iOS etc.. You won’t need to login to zerotier on the device, you’ll only need to join a network, which just requires network ID from step one. Once the device has joined the network, you’ll go back to zerotier.com and Authorize the device. Here’s a tutorial video that walks through this process.
Step three is to setup zerotier on your OctoPi. You’ll need ssh access to your OctoPrint server for this step, which if you’re using OctoPi was done during image generation.
Step four – Finally, return to zerotier.com and authorize the raspberry pi to join the network. That’s it, your mobile device and pi are connected on what will feel like a LAN, regardless of what network you’re connected to! Zerotier.com will show you an internal IP (eg. 172.11.1.2) for your Octoprint server which you can use on your mobile device in a web browser, or any compatible octoprint app, to get full access to the Octoprint server, webcam, gcode streaming and all.
Note: This setup does require an online account with Zerotier, however they require no payment or personal info to setup a network as described here. Traffic between your mobile device and Octoprint will primarily be point-to-point and not routed through any Zerotier servers, however it is possible that the first few packets on the network will be proxied by Zerotier itself. You can learn more about Zerotier here.
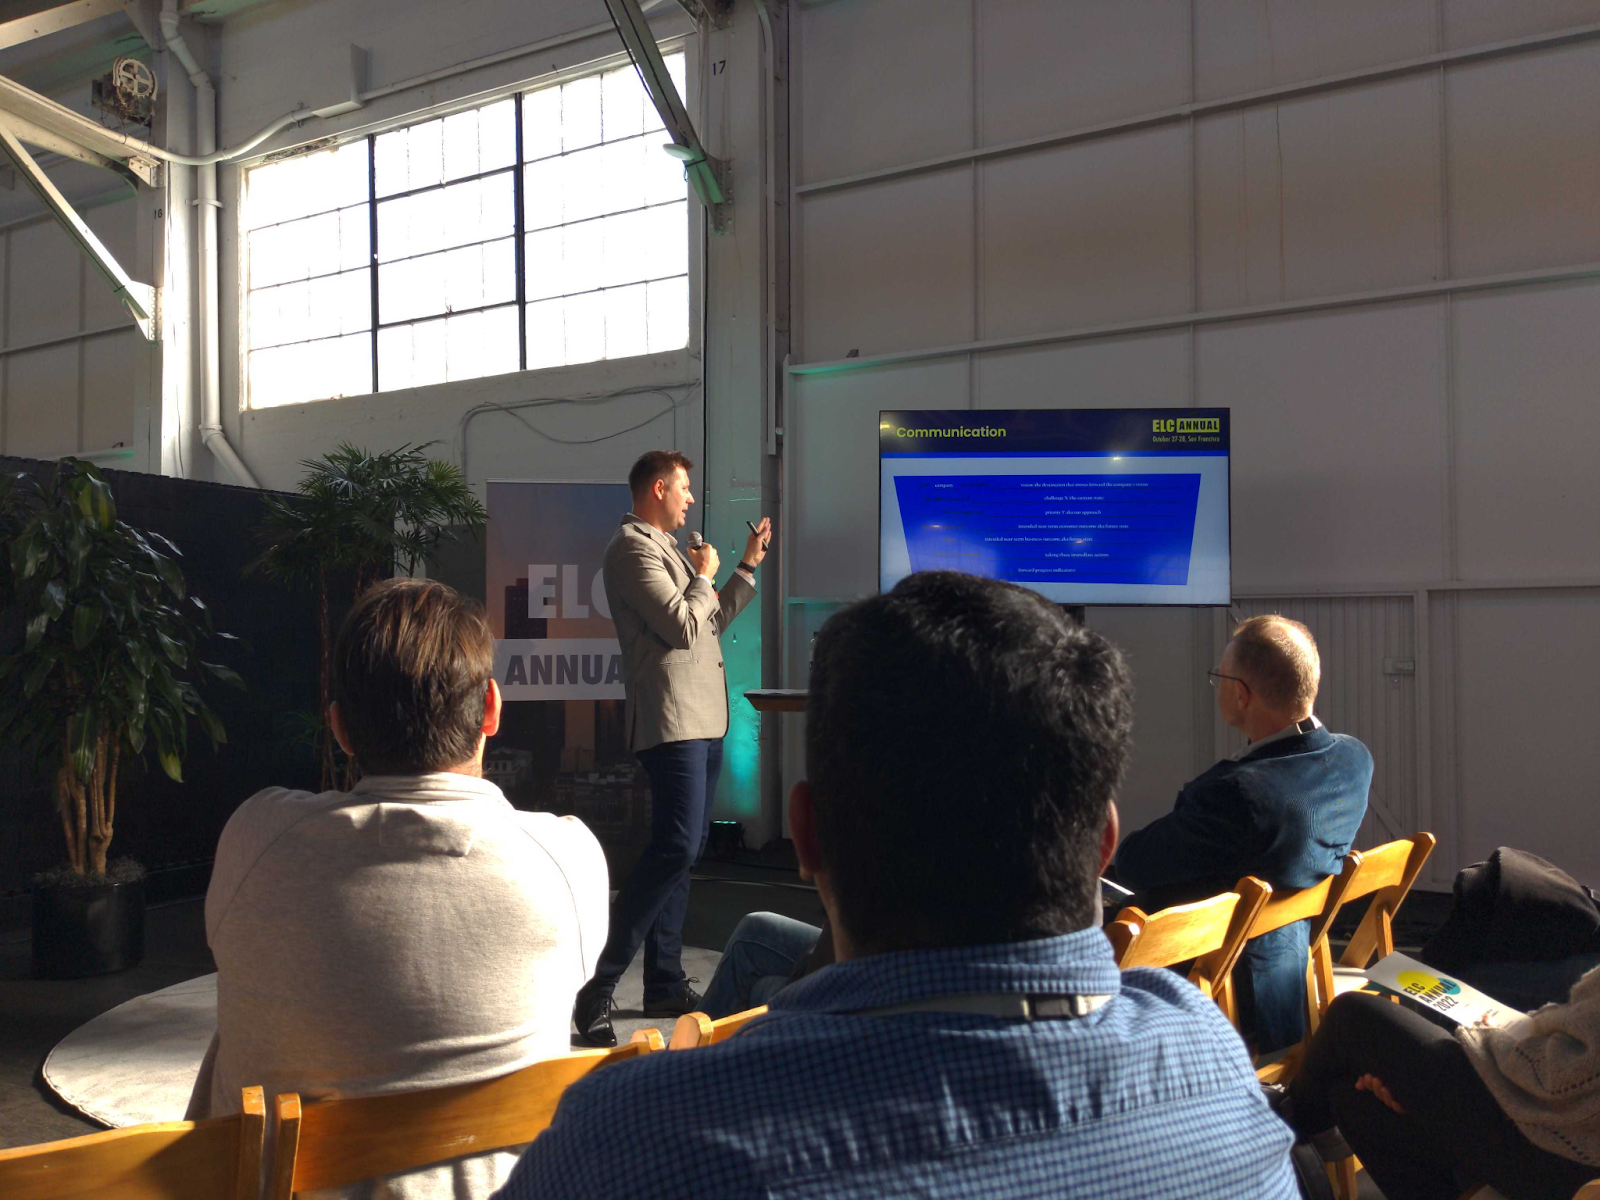
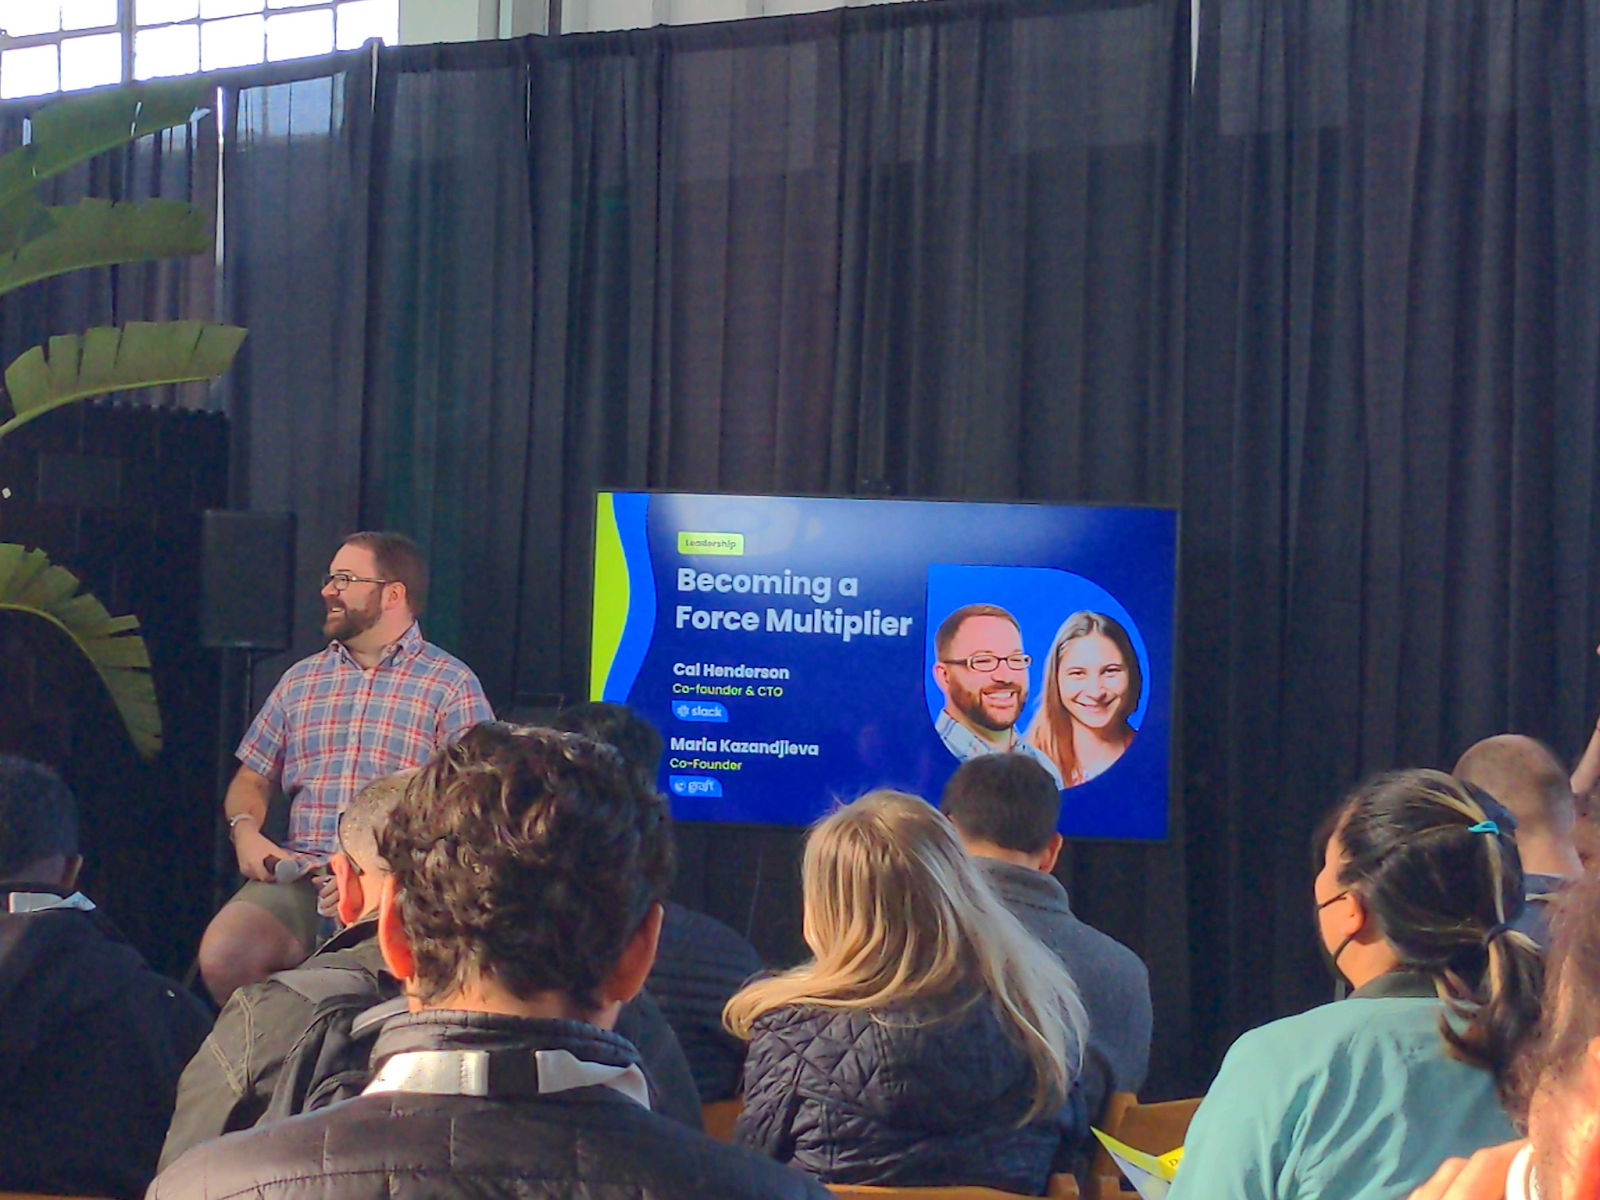
I had the good fortune of attending the San Francisco Engineering Leadership Community 2022 Annual conference, their first since the start of the COVID19 Pandemic. The event took place over 2 days at Fort Mason in San Francisco, had about a dozen vendors with booths, three “keynote” spaces and a handful of tables for smaller group conversations. In this blog post I’ll summarize some of my observations and learning from the two days:
Management Tips
Build & Staff Teams by Business Priority
Most companies will naturally devote time and energy to teams proportionate to their size. If you have six engineers divided into two teams of three, then it’s natural for each team to get roughly similar energy and attention across the business, even if one of the team is working on a problem that is meaningfully higher impact to the business. Be careful to design teams and team sizes to match business value, or to explicitly devote more energy to the higher impact groups.
Dev Experience is a Major Trend
Most successful tech organizations (Netflix, Google, Facebook, Slack etc.) spend at least 10% of all tech resources on developer experience and tools.
High Performing Teams
The Story Points fad is dead — every leader I spoke to or polled, about 20 in all, agreed that measuring and optimizing for velocity via story points (or similar) is not productive.
One way to identify high(est) performing teams: The 360 Team NPS Score. You survey other teams throughout the organization and have them take an NPS survey for your various engineering teams. You then ask each team to do an internal NPS score (commonly called an eNPS). If both the external and internal NPS scores come back good, meaning that other teams perceive the team as high performing, and the team internally is happy, then you’ve probably got a high performing team.
Team of Teams by Stanley McChrystal was referenced a few times, great book. In general there was a lot of focus on the impact of leadership empowering their teams; creating high stakes and strong mission alignment.
Remote Work
Remote is hardest on junior employees. It’s hard for them to get interrupt driven help and mentorship. Some common solutions include hybrid work (teams get together in person at least once a week), hiring fewer Juniors, ramping up juniors in person before going to distributed/remote.
Internal Q&A sites sound good on paper but don’t take off. Any manager I spoke to about Stack Overflow for teams (or Gleen or Threads) that said they tried it said it failed to catch on.
Slack conversation is for ephemeral content. Identifying and porting knowledge from Slack to a wiki is a lossy process, nobody identified any robust or reliable processes other than “keep encouraging everyone to use the wiki.”
In hybrid organizations all in person employees should join remote meetings independently. This was widely agreed upon as the only way to ensure a productive hybrid meeting.
Donuts have been medium successful at other remote teams. They’re better than nothing but not a silver bullet to creating serendipity and social connection.
I asked a focus group of 15 other engineering leaders what kind of team they think they’ll be managing in 10-15 years, 100% of hands went up for remote, 0% for in person.
Idea for minimizing “unread Slack channel anxiety” — denote some Slack channels as special and required reading, have people star those channels during on boarding. Then post infrequent but important updates there. Everything else should be assumed to be ephemeral
DORA Metrics
DORA Metrics are four metrics designed to measure the speed and quality of an engineering team. Sleuth, a company that measures DORA metrics, was at the conference and happy to espouse the benefits of continuous deployment.
Interestingly, at an earlier round-table in the day discussing high performing teams I asked how many other managers were tracking these metrics, and of about 15 people none indicated they were familiar with DORA metrics. Everyone knew what continuous deployment was though and universal sentiment was it is A Good Thing to strive for.
Memorable Quotes
“You can’t a/b test organizational changes or management decisions, especially in a growing organization”
“Don’t look back, you’re not going that way” — thinking about careers
“Tools dictate your process, your process informs your culture, your culture guides tool choice.”
Misc. Conference Tips
Small Groups are Key
In general the larger talks I found to be, on the whole, lower value than the small group conversations. That’s not to say they were of no value, it was nice to hear directly from some folks who have done very respectable things talk about their journey and get a sense of who they are as people. VP of Engineering at Vercel Lindsey Simon, in particular, has a great sense of humor and I found to be a very engaging speaker. The small groups, though, were considerably more thought provoking and is where I spent most of my time.
Being Curious is Key
On two occasions I went out of my way to be empathetic or curious with vendors at the conference. The first was an engineer asking some hard hitting questions to a sales rep of some SaaS software. They were fair questions, but to me it was clear the sales person was out of their technical depth and not able to produce a satisfying answer. After listening for a minute or so I took an educated guess as to what the questioner might be looking for, throwing a bone to the sales person and letting them off the hook for that line of questioning. Needless to say he was very thankful and we had an extended and honest conversation both about his product and the world of selling SaaS thereafter.
Not long thereafter I met the founder of Metaview.ai. He, as the curious customer-focused founder he is, started asking me about my company and interview process. I gave him the rundown, and then started to get very curious about his business. What motivated him to solve this problem, how does he think about interviews, how to provide fair/consistent interview experiences, philosophy on training teams to hire etc. We got into it for a good few minutes and I must have made a good impression as he forwarded me an invitation to a dinner his company was curating that evening. I graciously accepted and that dinner turned out to be one of the highlights of the trip for me!
Fun / Random Knowledge
All the sounds in Slack came from their first idea that they pivoted from: building a video game
From time to time your team may want to use a new service from your cloud provider. That request may come with an estimated usage cost for the service and if it fits in the budget and seems good ROI it will be approved. For most startup projects, that’s where the cloud cost control ends. With just a bit of extra effort, especially if resources are already being provisioned with Terraform, you can use budgeting tools offered by Amazon, Google etc. to ensure the actual cost aligns with expectations.
For the purposes of this example, I’ll use Google Cloud Budgets, but the analogous resources and APIs exist in AWS and Azure.
Goal: Add a budget to monitor the cost of a new Google Cloud Run service your team wants to deploy.
Prerequisites: An operational knowledge of Terraform and editor access to a Google Cloud Project & Google Cloud Billing Account
Part 0 – Become familiar with your cloud provider’s budgeting tool
If you haven’t spent a few minutes creating a budget using the cloud console itself. The various parameters and options in Terraform will make a lot more sense if you’ve already got the context and perspective of how the budgeting process as a whole works. In Google Cloud budgets are under “Budgets & alerts” in the billing section.
When setting up a budget with Google Cloud you have the option to have the budget monitor cost of a specific service via a filter. The terraform resource for creating budgets with these filters requires you specify the service by the service’s ID. You can find the ID of various services in the cloud console UI as per the screenshot below.
data "google_billing_account" "account" {
  billing_account = "000000-0000000-0000000-000000"
}

data "google_project" "project" {
}

resource "google_billing_budget" "budget" {
  billing_account = data.google_billing_account.account.id
  display_name = "Project X Cloud Run Billing Budget"

  budget_filter {
    projects = ["projects/${data.google_project.project.number}"]
    credit_types_treatment = "EXCLUDE_ALL_CREDITS"
    services = ["services/152E-C115-5142"] # Cloud Run
  }

  amount {
    specified_amount {
      currency_code = "USD"
      units = "100" # $100 per month
    }
  }

  threshold_rules {
    threshold_percent = 0.5 # Alert at $50
  }
  threshold_rules {
    threshold_percent = 0.9 # Alert when forecast to hit $90
    spend_basis = "FORECASTED_SPEND"
  }
}
You can even set up custom alerting rules so the teams that create new infrastructure at the ones notified if/when spend exceeds the amount forecast during planning and development.
Much ink has been spilled on which database you should use, or how to think about which database to use, for your project. My aim in this post is not to sell you on any database paradigm, rather to serve as a reference guide and checklist for how to responsibly host a SQL server, be it MySQL, Postgresql or other, in production.
Before calling your SQL database plan ready-for-implementation, ask yourself if you’ve thought about all these requirements:
☐Read only replicas ☐Multi-zone hosting ☐ Automated daily backups ☐ One click rollback / backup restore ☐Event based audit logging / full table histories / log replication ☐ Automatic disk expansion ☐ High quality Migration tooling ☐ Connection/IP Security ☐ Local dev versions / easy ability to download prod data ☐Staging / recent-prod replica environments ☐CPU & Memory monitoring / auto scaling ☐Slow query monitoring ☐ High quality ORM / DB Connection library
In practice it’s very expensive or impossible to do all of these things yourself, your best bet is to chose a solution that comes with many of these features out of the box such as Google Cloud SQL or Amazon RDS; just make sure to enable the features you care about.
—————-
Read only replicas
More often than not a production SQL server will have use cases that can easily be divided between read heavy vs. write heavy. The most common is perhaps the desire to do analytics processing on transaction data. Generally this should be handled with a proper data pipeline/enterprise data warehouse, but having a real time readonly mirror is a good practice regardless even for your ELT tools.
Multi-zone hosting
If AWS us-east-1 goes down, will your application survive? Have a plan to ensure data is replicated in real time between zones, or even better between datacenters entirely.
Automated daily backups
Ideally you have at least daily, if not more regular, full backups that are sent off site. Depending on your requirements perhaps that’s an exported zip file to a storage bucket with the same cloud provider, or perhaps it’s a bucket in an entirely different cloud. Make sure that everything about this process is secure and locked down tight, these are entire copies of your database after all.
This is a good use case for that realtime read only replica.
One click rollback / backup restore
Most cloud hosted SQL options will offer the option of one-click point in time restore. At a minimum ensure you have an entirely automated way, that is tested regularly, to restore from one of your hourly or daily backups.
Event based audit logging / full table histories / log replication
Different databases have different terminology for this, in PSQL they’re replication slots, in MSSQL it’s log replication. The idea is you want CDC — change data capture — for every mutation to every table recorded in a data warehouse for your analytics team to do as they need. Such data can be used to produce business audit logs, or run point-in-time analytics queries to ask questions for users such as “what was my inventory like last week?”
Automatic disk expansion
Nobody likes getting an alarm at 3AM that their database has hit its disk storage limit. In case it’s not obvious, very bad things happen when a database runs out of disk space. Make sure your SQL solution never runs out of disk by using a platform/tool that will expand automatically. Ideally it shrinks automatically too.
High quality Migration tooling
Schema and data migrations are hard, don’t try and solve these problems yourself. Use a tool or framework that will help you generate migrations and manage the execution of migrations across various environments. Remember that your migration has to work locally for developers who have used this repository before and new developers, as well as in all staging, feature branch and production environments. Don’t underestimate the difficulty of this challenge.
Connection/IP Security
Often you can get away with IP allowlisting access to a database, but in 2022 that’s going out of style (and will be flagged by PCI or SOC2 auditors). Nowadays your database should be in a private VPC with no internet access and networked/peered with your application servers. Keep in mind that this will make access for developers challenging, that’s a good thing! It’s a good idea to have a strategy, either with a proxy or a bastion host, for emergencies though.
Local dev versions / easy ability to download prod data
You’ll want tooling to download a copy of sanitized production data for testing. Something that runs well on a local machine with 1000 rows may be unacceptably slow in production with 2 million records. Those 2 million records may cause trouble not just due to volume, but also data heterogeneity — real world users will hit edge cases your developers may not.
CPU, Memory, Connection monitoring / auto scaling
Ensure you have monitoring and, ideally autoscaling, on cpu, memory and connection counts for a SQL database. It should be somebody’s job to check from time to time that these values are within acceptable ranges for your use case.
Cost Monitoring
SQL databases are generally some of the more expensive parts of the stack. I recommend you set up a budget using tools in your cloud provider so you know how much you’re spending and can monitor growth.
Slow query monitoring
It’s easy to shoot yourself in the foot with SQL, whether using an ORM or writing raw SQL, and generate very expensive and slow queries. You’ll want logging and ideally alerting for anything abnormally slow that makes it to production.
High quality ORM / DB Connection library
Don’t forget about developer experience! Do you want to be writing raw SQL or using an ORM/DAL? There are tradeoffs in both directions, think through your options carefully. Does the ORM come with a migration tool? Does it have built-in connection pooling?
Goal: Deploy a link shortener on your own domain without writing any (non-infrastructure) code.
Prerequisites: An operational Kubernetes cluster, knowledge of Kubernetes & Terraform, basic knowledge of Google Cloud Platform
At every company I’ve worked at in the past decade we’ve had some mechanism to create memorable links to commonly used documents. Internally at Google, at least when I was there around 2010, they used the internally resolving name “go”, e.g. “go/payroll” or “go/chromedashboard” would point to internal payroll or internal project dashboards. I suspect an ex-Googler liked the idea enough to make it a business, as GoLinks is a real thing you can pay for. Below I’ll walk through how to setup Kutt (an open source link shortener) with Terraform in your own Kubernetes cluster in Google Cloud.
Kutt has several dependencies, so let’s make sure we’ve got those in orderg
You need a domain name and ability to set DNS records. For example go.mycompany.com
You’ll need an SMTP Server for authenticating emails to the link shortener, we’ll use this just for the admin user. Have your mail_host, mail_port, mail_user and mail_password at hand.
Optionally: A google analytics ID
A Redis Instance (we’ll deploy one with terraform)
A Postgresql database (we’ll deploy one with terraform)
For starters, let’s setup our variables.tf file. There’s quite a few values here, and there are more configuration options that can be passed into Kutt via env vars down the road.
Now let’s set up our database. You can really do this anyway you like, but if we’re using Google Kubernetes Engine we likely also have access to Google Cloud SQL, so this is fairly straightforward.
database.tf
resource "google_sql_database_instance" "linkshortenerdb" {
  name             = replace("linkshortener-${var.namespace}", "_", "-")
  database_version = "POSTGRES_13"
  region           = "us-west2"
  project          = var.project_id
  lifecycle {
    prevent_destroy = true
  }

  settings {
    # $7 per month
    tier = "db-f1-micro"
    backup_configuration {
      enabled                        = true
      location                       = "us"
      point_in_time_recovery_enabled = false
      backup_retention_settings {
        retained_backups = 30
      }
    }

    ip_configuration {
      ipv4_enabled = false
      # In order for private networks to work the GCP Service Network API has to be enabled
      private_network = var.vpc_id
      require_ssl     = false
    }
  }
}

resource "google_sql_database" "linkshortener" {
  name     = "${var.namespace}-linkshortener"
  instance = google_sql_database_instance.linkshortenerdb.name
  project  = var.project_id
}

resource "random_password" "psql_password" {
  length  = 16
  special = true
}

resource "google_sql_user" "linkshorteneruser" {
  project  = var.project_id
  name     = "linkshortener"
  instance = google_sql_database_instance.linkshortenerdb.name
  password = random_password.psql_password.result
}
That’s it (finally) for prerequisites, now the fun part, setting up Kutt itself (with a Redis sidecar)
kutt.tf
provider "google" {
 project     = var.project_id
 region      = var.region
 credentials = var.google_service_account
}

provider "google-beta" {
 project     = var.project_id
 region      = var.region
 credentials = var.google_service_account
}

data "google_client_config" "default" {}

provider "kubernetes" {
 host                   = "https://${var.k8s_host}"
 cluster_ca_certificate = var.cluster_ca_certificate
 token                  = data.google_client_config.default.access_token
}

resource "random_password" "redis_authstring" {
 length  = 16
 special = false
}

resource "kubernetes_deployment" "linkshortener" {
 metadata {
   name = "linkshortener"
   labels = {
     app = "linkshortener"
   }
   namespace = var.namespace
 }

 wait_for_rollout = false

 spec {
   replicas = 1
   selector {
     match_labels = {
       app = "linkshortener"
     }
   }

   template {
     metadata {
       labels = {
         app = "linkshortener"
       }
     }

     spec {
       container {
         image = "bitnami/redis:latest"
         name  = "redis"

         port {
           container_port = 3000
         }

         env {
           name  = "REDIS_PASSWORD"
           value = random_password.redis_authstring.result
         }

         env {
           name  = "REDIS_PORT_NUMBER"
           value = 3000
         }
       }

       container {
         image = "kutt/kutt"
         name  = "linkshortener"
         port {
           container_port = 80
         }

         env {
           name  = "PORT"
           value = "80"
         }

         env {
           name  = "DEFAULT_DOMAIN"
           value = var.domain
         }

         env {
           name  = "DB_HOST"
           value = google_sql_database_instance.linkshortenerdb.ip_address.0.ip_address
         }

         env {
           name  = "DB_PORT"
           value = "5432"
         }

         env {
           name  = "DB_USER"
           value = google_sql_user.linkshorteneruser.name
         }

         env {
           name  = "DB_PASSWORD"
           value = google_sql_user.linkshorteneruser.password
         }

         env {
           name  = "DB_NAME"
           value = google_sql_database.linkshortener.name
         }

         env {
           name  = "DB_SSL"
           value = "false"
         }

         env {
           name  = "REDIS_HOST"
           value = "localhost"
         }

         env {
           name  = "REDIS_PORT"
           value = "3000"
         }

         env {
           name  = "REDIS_PASSWORD"
           value = random_password.redis_authstring.result
         }

         env {
           name  = "JWT_SECRET"
           value = var.jwt_secret
         }

         env {
           name  = "ADMIN_EMAILS"
           value = var.admin_emails
         }

         env {
           name  = "SITE_NAME"
           value = "MyCompany Links"
         }

         env {
           name  = "MAIL_HOST"
           value = var.smtp_host
         }

         env {
           name  = "MAIL_PORT"
           value = var.smtp_port
         }

         env {
           name  = "MAIL_USER"
           value = var.smtp_user
         }

         env {
           name  = "MAIL_FROM"
           value = var.mail_from
         }

         env {
           name  = "DISALLOW_REGISTRATION"
           value = "true"
         }

         env {
           name  = "DISALLOW_ANONYMOUS_LINKS"
           value = "true"
         }

         env {
           name  = "GOOGLE_ANALYTICS"
           value = var.google_analytics_id
         }

         env {
           name  = "MAIL_PASSWORD"
           value = var.smtp_password
         }
         readiness_probe {
           http_get {
             path   = "/api/v2/health"
             port   = 80
             scheme = "HTTP"
           }
           timeout_seconds = 5
           period_seconds  = 10
         }
         resources {
           requests = {
             cpu    = "100m"
             memory = "200M"
           }
         }
       }
     }
   }
 }
}
With the above you should now have a postgres server, a redis instance and a kutt deployment deployed and talking to eachother. All that’s left is to expose your deployment as a service and setup your DNS records.